
Turn Your Old Laptop Into a 24/7 Home Media Server: Stop Paying for OTT & Reduce E-Waste
Why Build Your Own Media Server?
In today’s world, we’re bombarded with streaming subscriptions – Netflix, Prime Video, Disney+, and countless others. These costs add up quickly, often exceeding $50-100 per month. Meanwhile, old laptops gather dust in closets, destined to become e-waste.
What if I told you that old laptop could become your personal Netflix?
Benefits of Building Your Own Media Server:
- 💰 Save Money: Stop paying multiple OTT subscriptions
- 🌍 Reduce E-Waste: Give your old laptop a second life instead of throwing it away
- 🎬 Own Your Content: Watch your personal media library anytime, anywhere
- 📡 No Internet Required: Stream locally without buffering or data limits
- 🔒 Privacy: Your data stays in your home, not on someone else’s servers
- ♻️ Eco-Friendly: Reuse existing hardware instead of buying new devices
What You’ll Need
Hardware:
- Old laptop (4GB RAM minimum, no battery required!)
- Power adapter
- Ethernet cable (recommended) or WiFi
- External hard drive (optional, for storing movies/TV shows)
Software (All Free!):
- Ubuntu Server (lightweight Linux OS)
- CasaOS (easy management interface)
- Jellyfin (your personal Netflix)
Total Cost: $0 (if you already have the laptop)
Step-by-Step Guide
Phase 1: Install Ubuntu Server
Why Ubuntu Server? It’s lightweight, stable, and perfect for 24/7 operation – just like your Raspberry Pi experience!
1.1 Download Ubuntu Server
- Visit ubuntu.com/download/server
- Download the latest LTS version (Long Term Support)
- Create bootable USB using Rufus (Windows) or Balena Etcher
1.2 Install Ubuntu
- Boot laptop from USB (press F12/F2/DEL during startup)
- Select “Install Ubuntu Server”
- Follow installation wizard:
- Choose language and location
- Set hostname (e.g., “mediaserver”)
- Create user account (username: your choice)
- Important: During software selection, ONLY check:
- ✓ SSH server
- ✓ Standard system utilities
- ❌ DO NOT install desktop environment (keeps it lightweight)
- Complete installation and reboot
Phase 2: Initial System Configuration
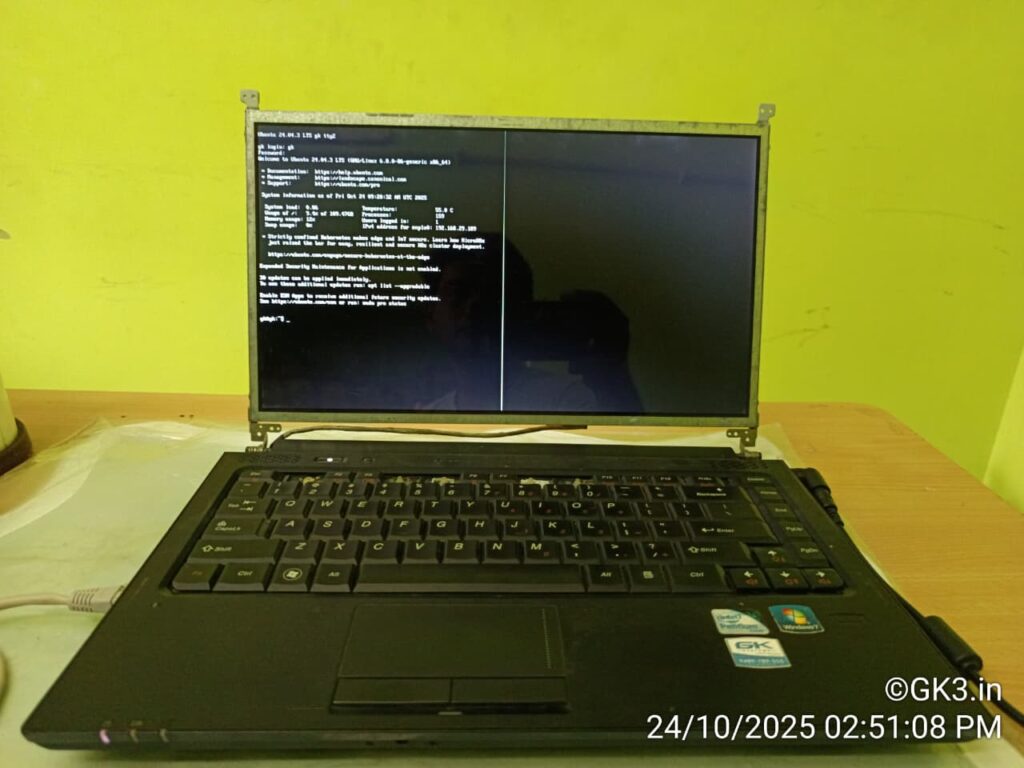
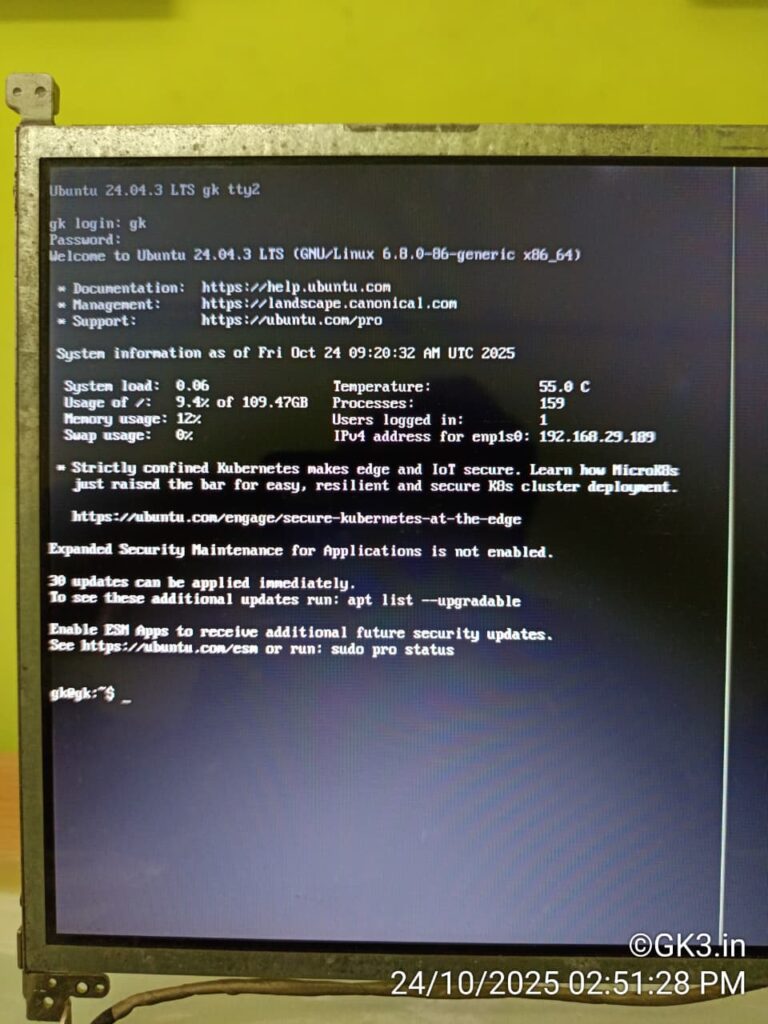
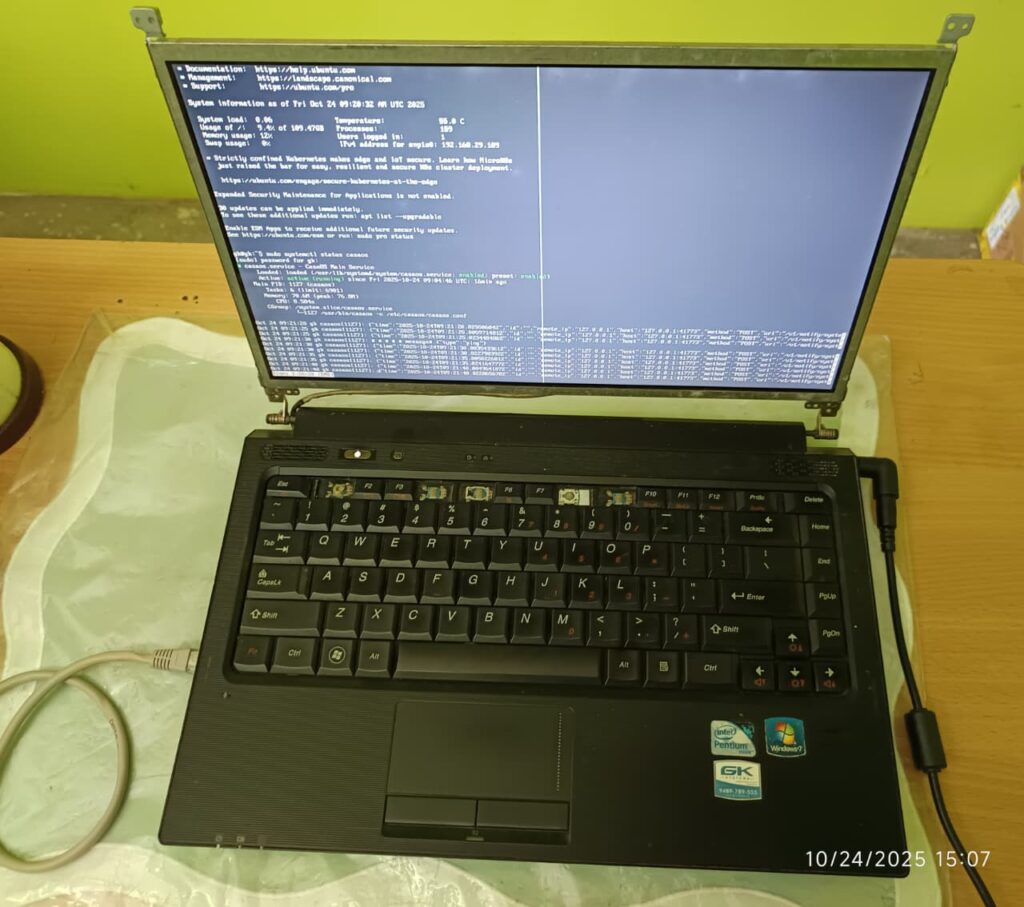
After first boot, login with your credentials.
2.1 Update System
sudo apt update && sudo apt upgrade -y
Note: If you get “dpkg lock” errors, wait 2-3 minutes for automatic updates to finish, then try again.
2.2 Disable Sleep and Suspend
Your server needs to run 24/7, so let’s prevent it from sleeping:
sudo systemctl mask sleep.target suspend.target hibernate.target hybrid-sleep.target
This creates symlinks to /dev/null, ensuring the laptop never sleeps.
2.3 Configure Lid and Power Settings
sudo nano /etc/systemd/logind.conf
Find and modify these lines (remove # at the start):
HandlePowerKey=poweroff
HandleLidSwitch=ignore
HandleLidSwitchExternalPower=ignore
HandleLidSwitchDocked=ignore
What this does:
- Power button = Emergency shutdown (keep functional for troubleshooting)
- Lid close = Ignored (laptop keeps running with lid closed)
Apply changes:
sudo systemctl restart systemd-logind
2.4 Enable Auto-Login
So your server starts without waiting for password entry:
sudo systemctl edit getty@tty1
Add these lines:
[Service]
ExecStart=
ExecStart=-/sbin/agetty --autologin YOUR_USERNAME --noclear %I $TERM
Type=idle
Replace YOUR_USERNAME with your actual username.
Enable and reload:
sudo systemctl enable getty@tty1
sudo systemctl daemon-reload
sudo systemctl restart getty@tty1
Phase 3: Install CasaOS
What is CasaOS? Think of it as a beautiful, user-friendly dashboard that makes managing your server as easy as using a smartphone app. No more complex command lines!
3.1 Install CasaOS (One Command!)
curl -fsSL https://get.casaos.io | sudo bash
Wait 5-10 minutes for installation. When complete, you’ll see the web address to access CasaOS.
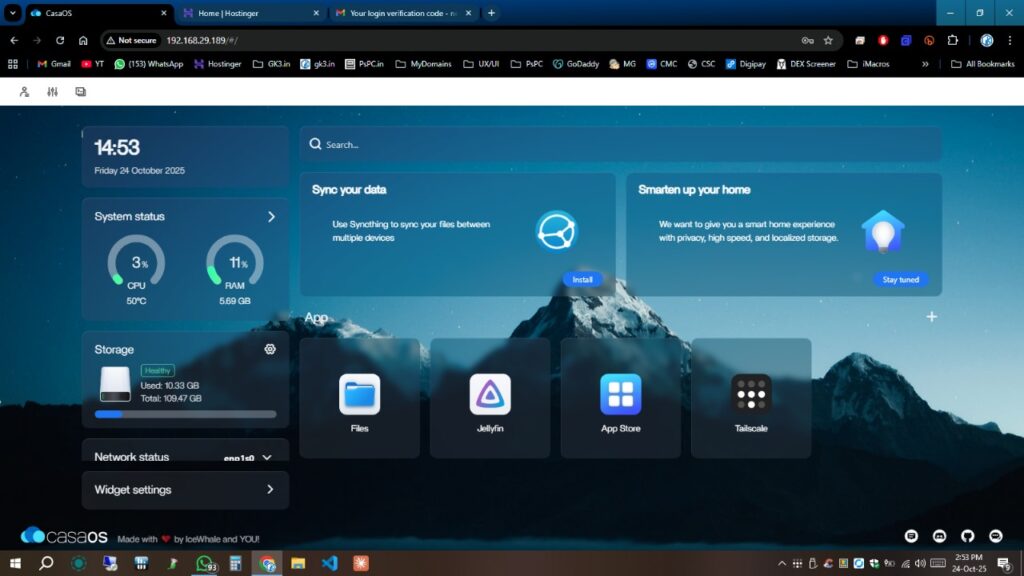
3.2 Access CasaOS
From any device on your network, open a browser and go to:
http://YOUR_LAPTOP_IP
You’ll see a beautiful web interface – this is your server control panel!
Phase 4: Set Static IP Address
Why? So your server always has the same address and you can always find it.
4.1 Find Your Network Interface
ip a
Look for the interface with your IP address (usually enp1s0, eth0, or similar).
4.2 Configure Static IP
ls /etc/netplan/
Note the filename, then edit it:
sudo nano /etc/netplan/50-cloud-init.yaml
Replace contents with (adjust interface name and IP to match yours):
network:
  version: 2
  ethernets:
    enp1s0:
      dhcp4: no
      addresses:
        - 192.168.1.100/24
      routes:
        - to: default
          via: 192.168.1.1
      nameservers:
        addresses: [8.8.8.8, 8.8.4.4]
Important: Use 2 spaces for indentation, NOT tabs. YAML is strict about formatting.
Apply changes:
sudo netplan apply
Phase 5: Install Jellyfin (Your Personal Netflix!)
5.1 Install via CasaOS
- Open CasaOS web interface
- Click “App Store”
- Search for “Jellyfin”
- Click “Install”
- Wait for installation to complete
That’s it! Jellyfin is now running.
5.2 Access Jellyfin
Click on the Jellyfin app in CasaOS, or visit:
http://YOUR_LAPTOP_IP:8096
5.3 Setup Jellyfin
- Create admin account
- Add media libraries:
- Click “Add Media Library”
- Choose type (Movies, TV Shows, Music)
- Point to your media folders
- Configure metadata downloaders (automatic movie posters, descriptions, etc.)
Phase 6: Add Your Media
Option A: Using Internal Storage
Simply copy your movies/shows to a folder on the laptop and add it to Jellyfin.
Option B: Using External Hard Drive (Recommended)
6.1 Connect and Find Drive
lsblk
Look for your external drive (usually sdb1, sdc1, etc.)
6.2 Create Mount Point
sudo mkdir -p /mnt/media
6.3 Mount Drive
sudo mount /dev/sdX1 /mnt/media
Replace sdX1 with your actual drive name.
6.4 Auto-Mount on Boot
sudo blkid
Copy the UUID of your drive.
sudo nano /etc/fstab
Add line:
UUID=your-drive-uuid /mnt/media ext4 defaults 0 2
6.5 Add to Jellyfin In CasaOS:
- Click Jellyfin settings (gear icon)
- Under “Volumes”, add:
- Host Path:
/mnt/media - Container Path:
/media
- Host Path:
- Save and restart Jellyfin
Now add /media as a library in Jellyfin!
Phase 7: Final Optimizations
7.1 Disable Screen Blanking
sudo nano /etc/default/grub
Change:
GRUB_CMDLINE_LINUX_DEFAULT="quiet splash consoleblank=0"
Update GRUB:
sudo update-grub
7.2 Final Reboot
sudo reboot
Phase 8: Access Jellyfin on Your TV
Now for the magic moment – watching your media on the big screen!
Smart TV / Streaming Device:
- Install Jellyfin app (available on):
- Samsung TV
- LG TV (webOS)
- Android TV
- Apple TV
- Roku
- Fire TV
- Chromecast
- Open app
- Add server:
http://YOUR_LAPTOP_IP:8096 - Login with your credentials
- Start watching!
Web Browser:
Simply open http://YOUR_LAPTOP_IP:8096 on any device.
Troubleshooting Guide
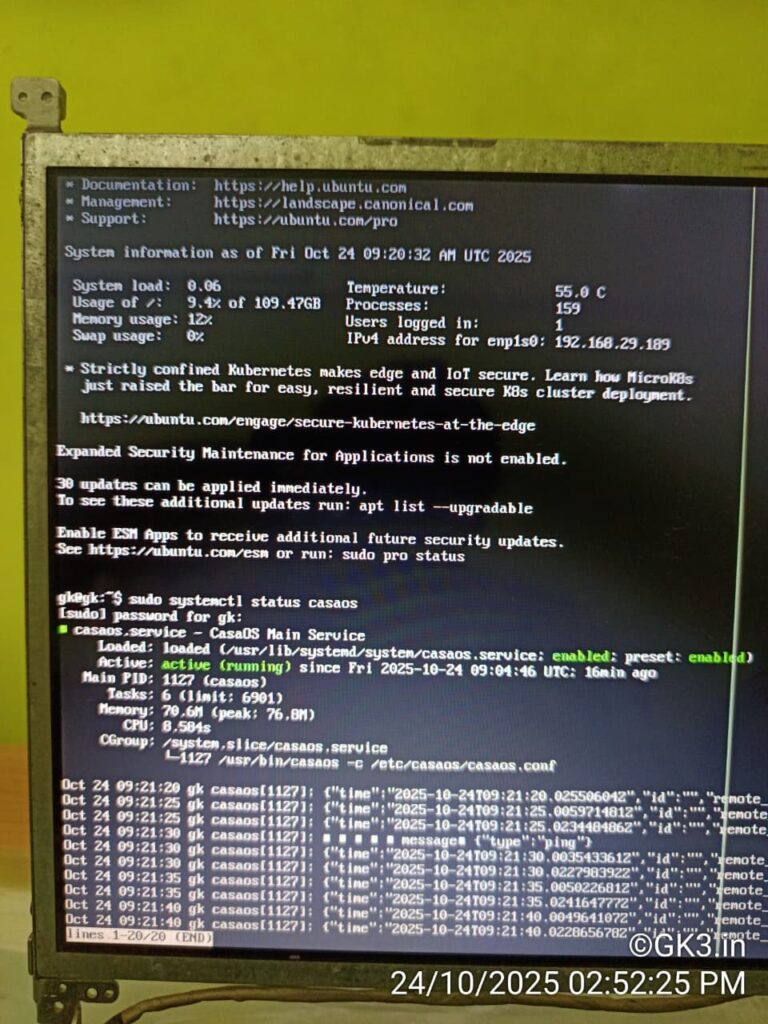
Issue: Can’t Access CasaOS
Solution:
sudo systemctl status casaos
sudo systemctl restart casaos
Issue: Jellyfin Not Starting
Solution: Check logs in CasaOS interface, or:
docker logs jellyfin
Issue: Network Lost After Setting Static IP
Solution: Check your netplan YAML syntax. Remember: 2 spaces for indentation, no tabs.
Issue: Still Asks for Login After Reboot
Solution:
sudo systemctl cat getty@tty1
Verify autologin is configured correctly.
Understanding the Benefits
Environmental Impact
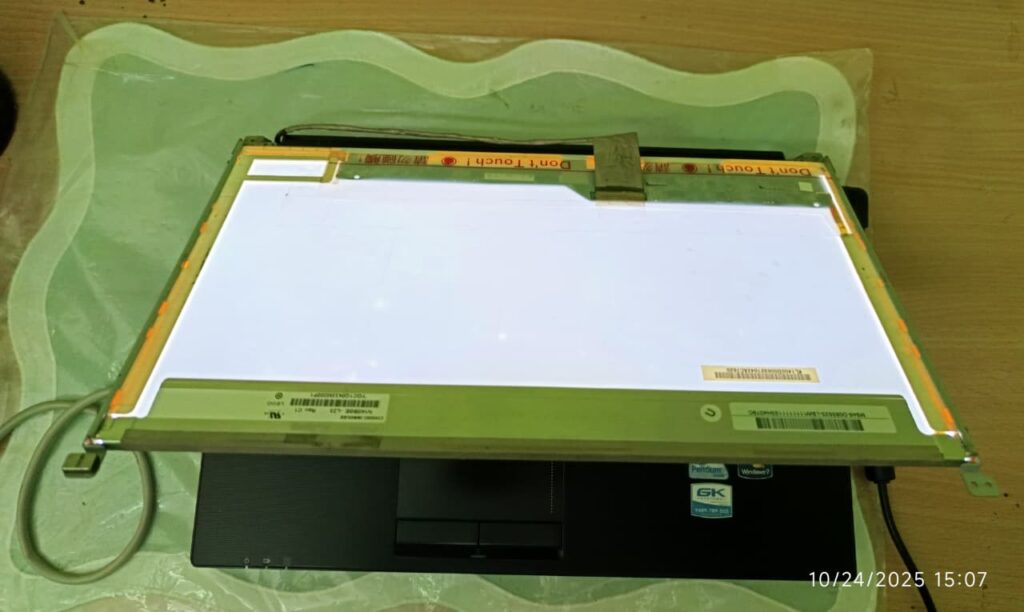
E-waste is one of the fastest-growing waste streams globally. By repurposing your old laptop:
- You prevent toxic materials from entering landfills
- You reduce demand for new electronics manufacturing
- You save the energy required to produce new devices
- A single reused laptop = approximately 1,200 kg CO2 saved
Financial Impact
Monthly OTT Costs:
- Netflix: $15-20
- Prime Video: $9
- Disney+: $8
- Hulu: $8
- HBO Max: $10
- Total: $50-65/month = $600-780/year
Your Home Server:
- Initial Cost: $0 (using existing laptop)
- Electricity: ~$2-5/month
- Annual Savings: $570-755
Ownership & Privacy
With commercial streaming:
- Content disappears when licenses expire
- Your viewing habits are tracked and monetized
- Requires constant internet connection
- Subject to regional restrictions
With your home server:
- You own your content forever
- Complete privacy – no tracking
- Works without internet
- No geographical restrictions
Power Consumption & Costs
An average laptop consumes 20-50W when running 24/7:
- 30W × 24 hours × 30 days = 21.6 kWh/month
- At $0.12/kWh = $2.59/month
- Annual electricity cost: ~$31
Still cheaper than ONE MONTH of streaming subscriptions!
Advanced Tips
1. Remote Access (Access from anywhere)
Install Tailscale or WireGuard for secure remote access to your media server.
2. Automatic Downloads
Use Sonarr (TV shows) and Radarr (movies) to automatically organize your media.
3. Multiple Users
Create separate Jellyfin accounts for family members with parental controls.
4. Backup Strategy
Use rsync to automatically backup your media to another drive:
sudo apt install rsync
rsync -av /mnt/media /mnt/backup
5. Monitoring
Install Netdata for beautiful real-time monitoring:
bash <(curl -Ss https://my-netdata.io/kickstart.sh)
What You’ve Achieved
✅ Converted “e-waste” into a powerful home server ✅ Created your personal streaming platform ✅ Eliminated monthly subscription costs ✅ Gained complete control over your media ✅ Reduced your environmental footprint ✅ Learned valuable Linux and server management skills
Your laptop now:
- Starts automatically when powered on
- Runs 24/7 without sleep
- Works with lid closed
- Streams to all your devices
- Costs pennies per month to operate
Conclusion: The Future is Self-Hosted
We live in a subscription economy that continuously drains our wallets while filling corporate servers with our data. By building your own home media server, you’re taking back control.
This old laptop that was “worthless” and headed for the trash? It’s now:
- Your personal Netflix
- A learning platform for technology
- A statement against planned obsolescence
- A step toward digital independence
- A small but meaningful environmental action
Every device reused is a device that doesn’t become e-waste.
So before you throw away that old laptop, remember: it might just be your next home server.
Quick Reference Card
Access Points:
- CasaOS:
http://YOUR_IP - Jellyfin:
http://YOUR_IP:8096 - SSH:
ssh username@YOUR_IP
Essential Commands:
# System status
sudo systemctl status casaos
htop

# Restart services
sudo systemctl restart casaos
docker restart jellyfin

# Check IP address
ip a

# Update system
sudo apt update && sudo apt upgrade -y

# Reboot
sudo reboot

# Shutdown
sudo shutdown now
Folder Locations:
- Media:
/mnt/media - CasaOS:
/var/lib/casaos - Jellyfin Config:
/DATA/AppData/jellyfin
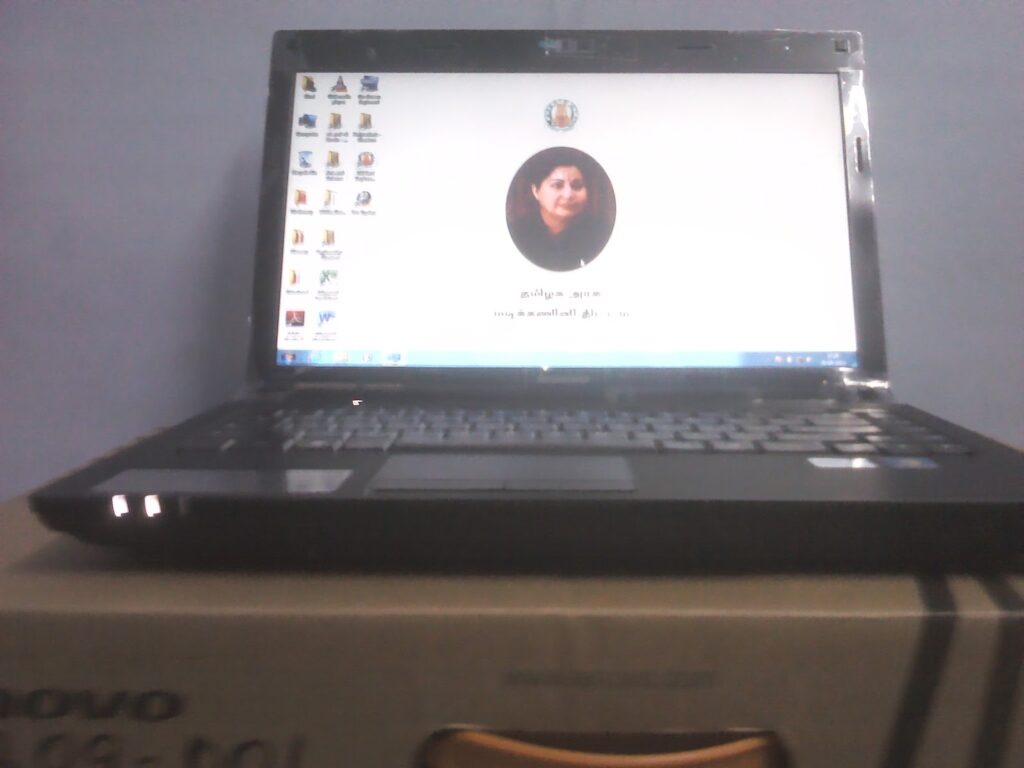
Here I Use:
- Lenovo B460E Model Laptop (Tamilnadu Govt Laptop Version)
Share Your Success!
Did this guide help you? Share your home server setup in the comments! Let’s inspire more people to reduce e-waste and take control of their digital lives.
Tags: #HomeServer #Jellyfin #CasaOS #EWaste #DIY #SelfHosted #OTTAlternative #Ubuntu #MediaServer #Sustainability #TechForGood
Last Updated: October 2025 Difficulty Level: Beginner-Intermediate Time Required: 2-3 hours Cost: $0 (using existing hardware)